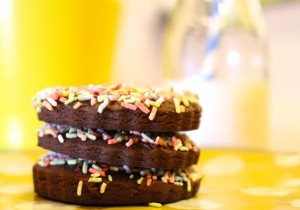
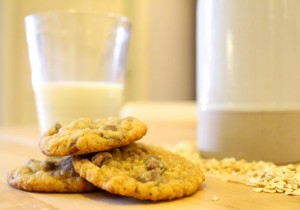
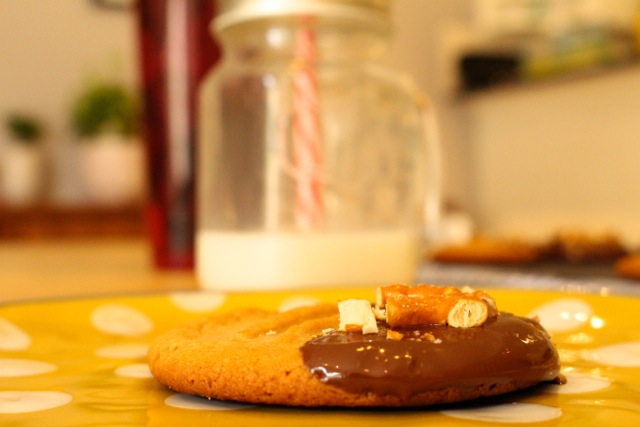
So butter is pretty delicious right? On toast, in cakes…so many buttery possibilities. Today, simple butter just became a million times better when I…..learned how to make brown butter!!
“What is this mysterious brown butter you speak of?” I hear you ask. Well, it simply involves heating the butter until the water boils away and the milk solids begin to cook, turning a toasty brown. The result is a sweet and nutty tasting butter…I followed this tutorial to learn how to do it.

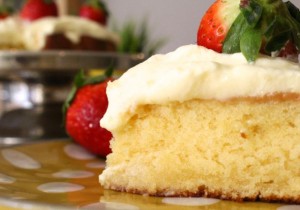
I used this recipe from Raspberri Cupcakes – the original version uses cherries on top, but unfortunately I couldn’t get any cherries because they’re out of season at the moment, so I went with the humble strawberry instead.

The recipe is quite easy, but you need to brown the butter in advance, so that you can chill it, prior to use. You then need to bring it back to room temp when you’re ready to make the cake – you can make it day before and keep it in the fridge if you like.

Ingredients
- 150g (1 1/3 sticks) butter (I used slightly salted but unsalted is also fine)
- 180g plain/all-purpose flour
- 2 tsp baking powder
- 1/4 tsp salt
- 120ml (about 1/2 cup) milk
- 1 tsp vanilla bean paste/pure vanilla extract
- 175g (approx 3/4 cup) granulated sugar (I used caster/superfine)
- 2 large eggs
Method
Prepare the brown butter ahead of time as you will need to chill it:
- Place butter in a small saucepan on low heat and stir until it melts completely.
- Continue cooking, stirring frequently until the milk solids turn brown and the butter smells nutty, about 4 minutes longer (or however long it takes for the solids to brown). Take care not to burn.
- Scrape the melted butter and browned solids into small bowl and chill until solidified (about half an hour in the freezer, an hour or so in the fridge). When ready to make cake, remove from the fridge long enough that the butter is soft enough to be beaten with an electric mixer.
For the cake:
- Preheat oven to 180°C (350°F) and grease an 18cm (7 inch) round cake tin (you can also use 20cm/8inch). Line the base of tin with baking paper.
- Combine flour, baking powder and salt in a medium bowl and set aside. Mix milk and vanilla together in a measuring jug.
- Using an electric mixer on low speed, beat sugar and brown butter in a large bowl until blended. Increase speed to high and beat well until very pale and creamy, at least 5 minutes.
- Reduce speed to medium low, add eggs 1 at a time, beating well after each addition.
- Alternately add flour mix and milk mixture, beginning and ending with flour mixture (I did it by adding 1/4 of of the dry mixture followed by 1/3 of the wet mixture at a time). Beat until smooth, occasionally scraping bowl with a spatula.
- Pour mixture into prepared tin and bake until a skewer inserted into the centre comes out clean and the outside is golden, about 35-40 minutes. Take cake not to overbake or cake will be dry.
- Cool in tin for 15 minutes, then carefully turn out on to a wire rack to cool completely. Best served freshly baked and cooled but can be chilled in an airtight container for a couple of days.
For the cream:
300ml (about 1 1/4 cups) thickened cream, cold
1 vanilla bean pod, split and seeds scraped (or 1 tsp vanilla bean paste/pure vanilla bean extract)
1/4 cup icing/confectioner’s sugar, sifted
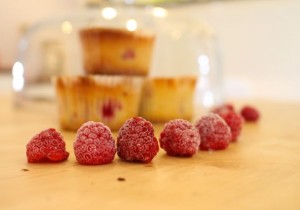
To decorate: Fresh cherries or other fruit
- (Only whip cream when ready to serve and cake is at room temperature.) Place cream in a large mixing bowl with vanilla bean seeds and icing sugar.
- Beat with an electric mixer on high speed until it reaches soft peaks. Take care not to overmix.
- Use a spatula to spread over the top of your cake.
- Decorate with fresh cherries/strawberries or whatever fruit you like

Now all that’s left is to make the tea!! Have you discovered the wonder of brown butter?


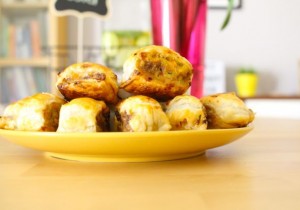
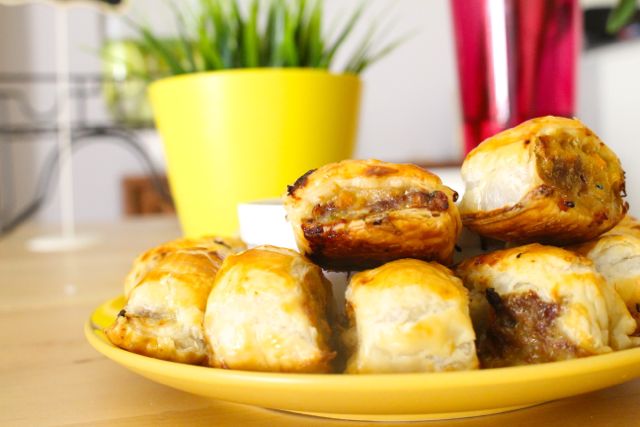
 So there might be no such thing as an actual “healthy sausage roll” but these contain a whole lot of veggies, so in my opinion, that counteracts any deviousness from the pastry in which they’re encased!!!
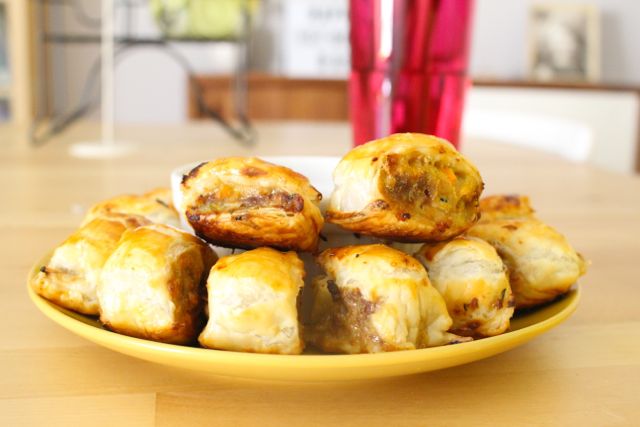